Water features
Installation & Care
Standard or self-draining?
Please check whether you have chosen the standard or self-draining water feature, and make sure that you are following the correct installation and care instructions, as they do differ in places.
Installation
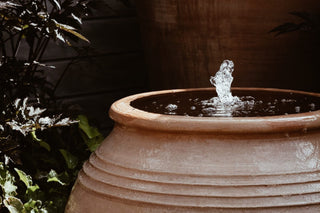
Positioning your water feature
You will probably already have a location in mind for your water feature, but there are a few practical things to consider when choosing a position. We advise that the reservoir is set a little above the surrounding level by approximately 20mm. If below or at the same level, rainwater can flush surrounding leaves, soil or other objects into the reservoir, and potentially clog up the pump.
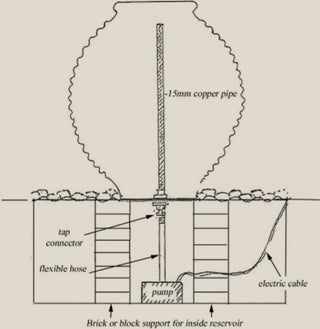
Your water feature kit includes:
- Pot with brass and copper fittings
- Reservoir
- Grid pump
The workshop team will calculate the total weight of your pot when it is full of water and provide this information with your pot.
Care
Topping up your reservoir
From time to time, and especially in summer, you will need to top up the water level of the reservoir. The water level can be reduced by evaporation and splash off from wind. If the water level gets too low, the pump may be drawing air rather than water which can cause overheating and damage to the mechanism.
Caring for your pump
In hard water areas, lime scale can build up on the impeller. Check your pump from time to time to ensure it is free of scale.
Follow the instructions below to clean your pump.
- Disconnect and remove the pump from the reservoir.
- Place the pump in a clean bucket of water.
- Remove the pump cover and brush out any debris before rinsing it vigorously with clean water.
- Add a pump cleaning solution to the bucket of water following the manufactures instructions.
Caring for your pot
From time to time you may need to clean your pot of algae, which is formed in reaction to sunlight. Be aware that terracotta can be damaged by harsh chemicals, so the best way to clean it is to scrub with diluted washing up liquid or Milton fluid. Never use a pressure washer on your pot as it may damage the surface.
We advise you reseal your pot every two years with a masonry water sealant suitable for sealing brickwork. This is available at most good DIY stores. Clean the pot first and allow it to dry. Apply two coats, inside and out, following manufacturer’s instructions.